Difference between revisions of "Mini Ubunto"
Jump to navigation
Jump to search
| Line 24: | Line 24: | ||
[[Linux - Mini Ubuntu - Pictures{{!}}The sequence in pictures...]] | [[Linux - Mini Ubuntu - Pictures{{!}}The sequence in pictures...]] | ||
<span style="color: #169179;" >Upon first boot up of your new system:</span> | <span style="color: #169179;" >Upon first boot up of your new system:</span> | ||
| Line 30: | Line 31: | ||
<span style="color: #169179;" >(Because there're ALWAYS updates...)</span> | <span style="color: #169179;" >(Because there're ALWAYS updates...)</span> | ||
=Configuring the minimal Ubuntu= | =Configuring the minimal Ubuntu= | ||
Latest revision as of 14:14, 22 January 2022
Much like Linux - Mini Debian, but done with Ubuntu...
Installing a minimal Ubuntu
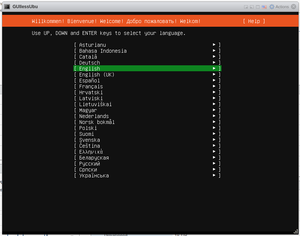
- Insert the CD/ISO/whatever & boot the machine/VM from it.
- I'm running it as VMs under ESXi
- "ESXi 6.7 VM", "Linux", "Ubuntu Linux (64-bit)"
- 4 CPUs, 4GB memory, 16GB storage
- I'm running it as VMs under ESXi
- Ubuntu Server defaults to a non-GUI install
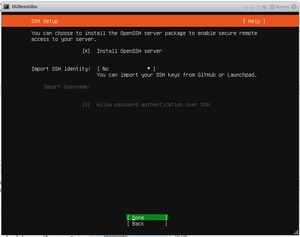
- Cruze along configuring the system to your liking until you reach the screen titled "SSH Setup"
- Make sure Install OpenSSH server is selected, then continue
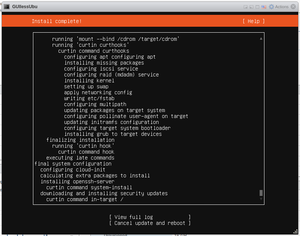
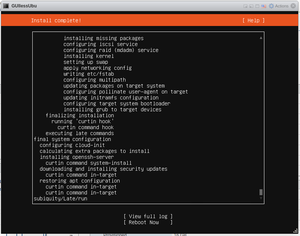
- Keep cruzing along until it tells you Install complete AND you get the Reboot Now option at the bottom
- When you tell it to continue, the system will reboot.
- It'll probably fail to unmount the CD/ISO. Just hit Enter
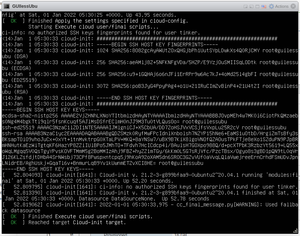
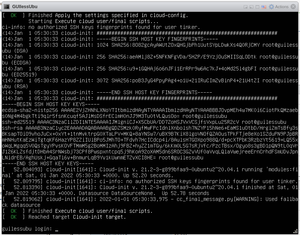
- During bootup, Ubunto appears to call home & set up some sort of cloud stuff... :(
- When it's done booting, you won't see a login prompt until you smack the Enter key again.
All done
Upon first boot up of your new system:
sudo apt updatesudo apt upgrade
(Because there're ALWAYS updates...)
